 |
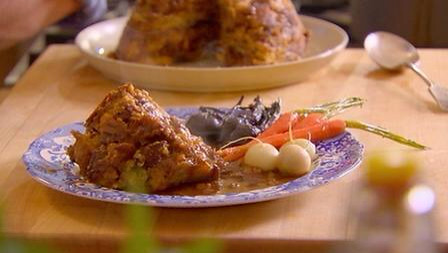
| Photo courtesy of bbc food.http://www.bbc.co.uk/food/recipes/layered_beef_and_36022 |
So, part one of my self-imposed recipe challenge. I was having a bit of a pantry clear-out and found a pack of Atora suet. I can't remember buying it and what recipe I had in mind, but decided it's time it got used. Beef suet pudding sounded like a lovely comforting meal for a wet and windy Sunday, so I set about an internet search for a recipe.
I settled on this Hairy Bikers recipe. Looks yummy and fairly easy. What I didn't do, was read the recipe properly before starting. If you fancy a go at this, beware, it is not a quick recipe. The beef filling takes a couple of hours, before you make the pastry and form the pudding. Then you need another couple of hours to steam the pudding. I didn't fully appreciate this until after I'd started cooking, so I ended up making the filling one day and forming and steaming the pudding the next. We ended up with pizza for Sunday dinner!!
So, I made my beef filling, as per the recipe, and then let it cool. Once again, I didn't read the recipe properly and didn't take the 5 ladlefulls of sauce out for the gravy. The next day, once the sauce had cooled and kind of congealed a bit, I couldn't take one ladlefull out, never mind 5. I didn't think this would matter - I'll just make extra gravy for serving - but as you will see, it was going to matter! Lesson learned here. Read the recipe!!
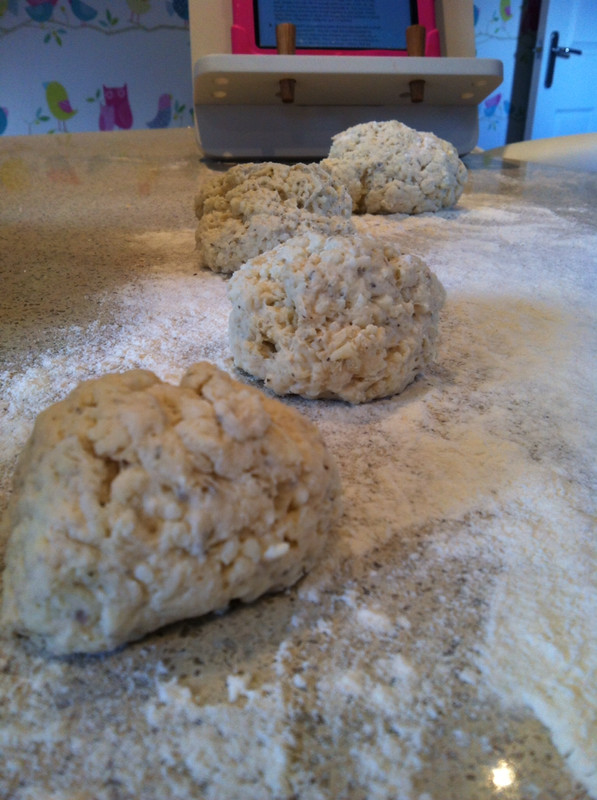
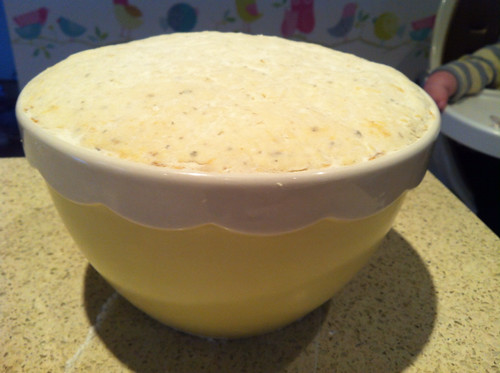
The suet pastry was ridiculously easy to make. Here are my different sized balls of pastry, ready to be layered up.
And then you just start layering.
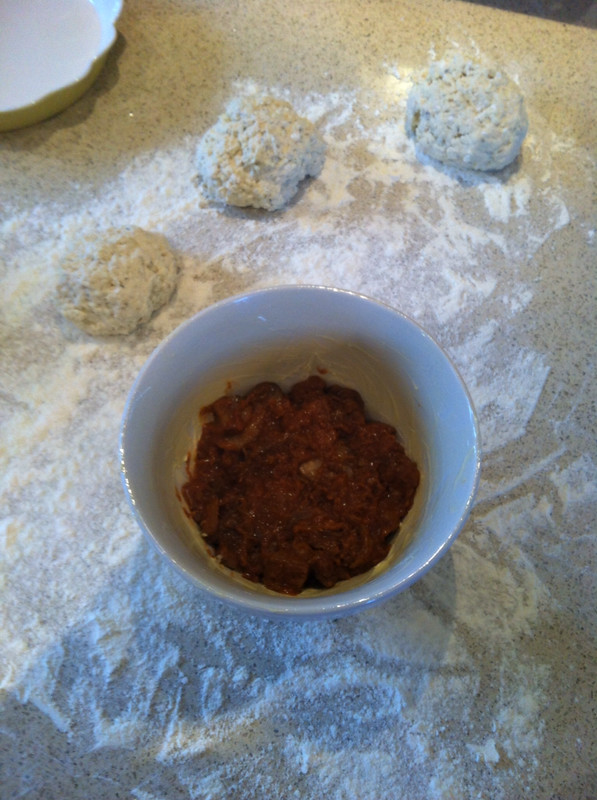
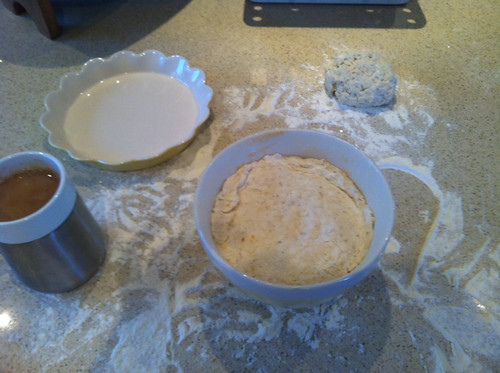
Until you get to the top.

Here we are, all tied up and ready to go.
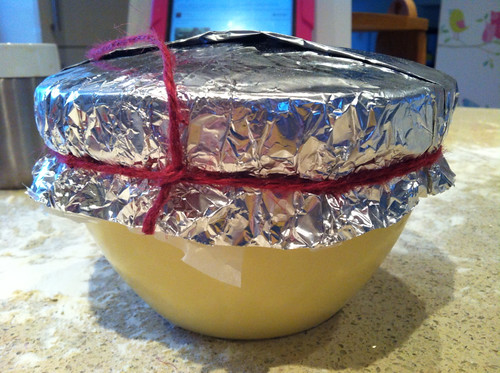
I had to get my biggest pan out - the one usually reserved for Ham in Coke. You need to stand the bowl on an upturned saucer, so that it doesn't come into direct contact with the bottom of the pan, and this means you need a bigger pan.

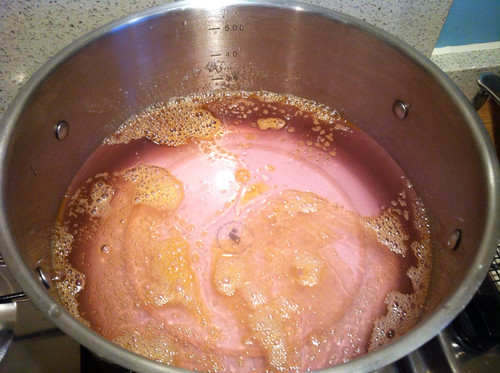
I reccommend using proper cooking string, rather than garden twine. Especially if your garden twine is pink, as it will do this to the water. Not a problem for the pudding, as it doesn't come into contact with the water, but if your husband sees it, he'll wonder what on earth you've been doing!
After 2 hours of steaming, and great anticipation, you get to turn your pudding out. Now it should look like this. See those pretty layers? But remember those 5 ladlefulls of sauce?


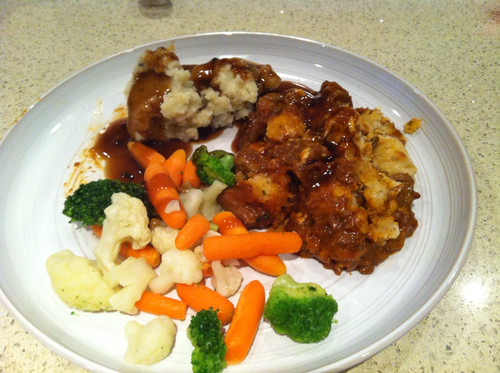
Hmm, not so pretty. And I almost decided not to write this post after all. But then we tucked in, and oh my gosh, it was yummy! Second helpings all round and clean plates from the girls. A definite success.
Here it is, served up with the husband's black pudding mash (from the freezer) and frozen veggies. Because if you've spent more than 5 hours making the pudding, you kind of forget about the rest, until the last minute!
Believe me, this recipe was delicious. I will definitely make it again, but next time, I will read the recipe all the way through, before I start!
Give it a go, you will love it. Please let me know if you do.
No comments:
Post a Comment